
How to Avoid Common Mistakes When Integrating External Services
Learn how to safely integrate external services like Supabase Auth with AI coding tools. Prevent API errors and deprecated functions with the right approach.
Introduction: The Hidden Pitfalls of External Service Integration
When you ask an AI coding agent to "Add Google login with Supabase Auth," it generates code in seconds. But when you run it, you see errors like supabase.auth.signIn is not a function. Why does this happen?
AI agents remember APIs from their training data cutoff, which means they may not know about the latest version changes. This is especially problematic with rapidly evolving services like Supabase, Firebase, and Stripe. They often suggest deprecated functions or incorrect configuration methods.
The bigger problem is that these integration mistakes are hard to debug. Network requests are sent but receive no response, authentication tokens are issued but sessions don't persist - symptoms are often ambiguous.
This article presents a systematic approach to safely integrating external services with AI, based on real Supabase Auth integration experience.
3-Step Preparation for Safe Integration
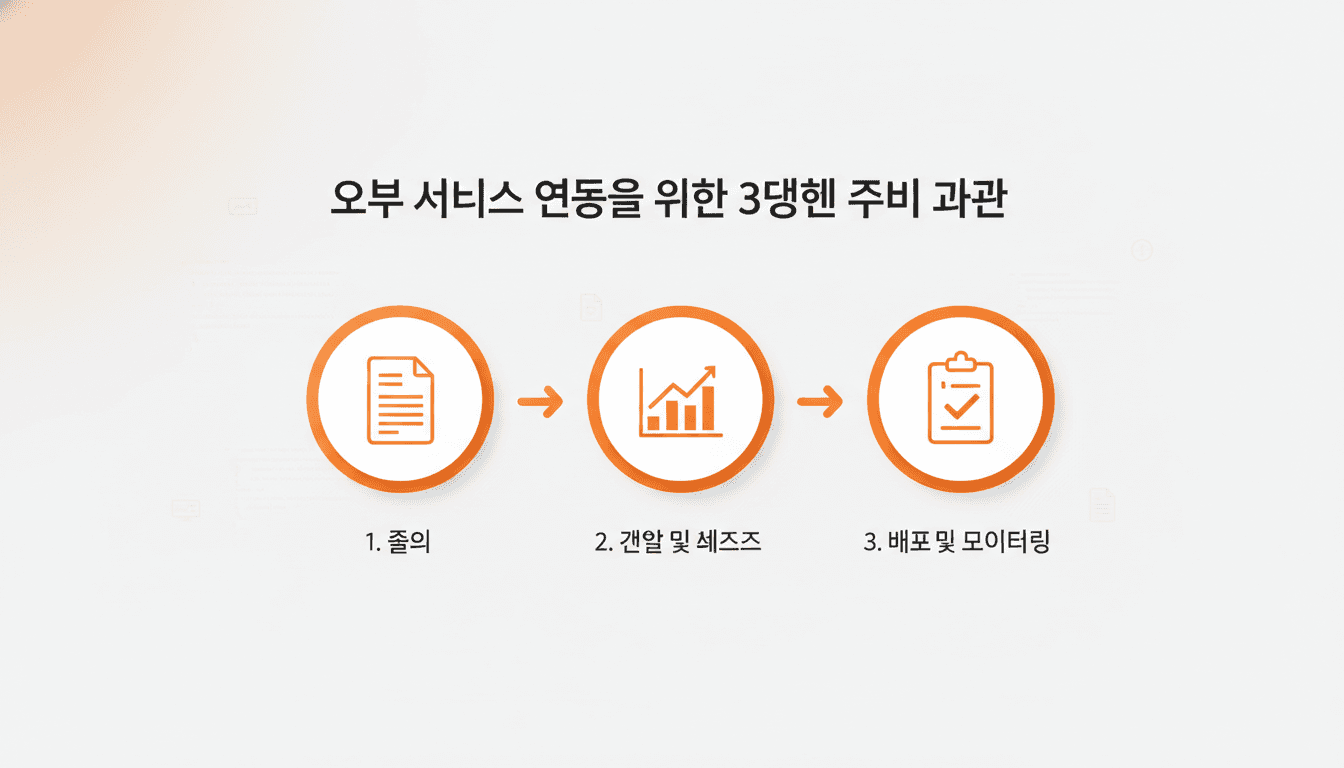
Before starting external service integration, following these three steps can significantly reduce mistakes.
Step 1: Activate Documentation Reference Tools
Enable Context-7 MCP so AI can reference the latest documentation. Context-7 is an MCP tool that provides web search and documentation reference capabilities, available in Claude Code and Cursor.
Give explicit instructions to AI:
"Before implementing Supabase Auth, use Context-7 to reference the latest authentication guide from the official Supabase documentation. Specifically check the latest API for the JavaScript client library."
This way, AI writes code based on real-time official documentation rather than training data.
Step 2: Analyze Entire Codebase
Before writing integration code, understand the current project structure and existing code. Use codebase analysis tools like Reformix.
"Call Reformix to analyze the current codebase. Specifically check if there's existing authentication-related code and what the API call patterns are."
During this process, verify:
- Existing authentication libraries or patterns in use
- How environment variables are configured
- Where API clients are initialized
- Error handling conventions
Step 3: Establish Implementation Plan
Don't write code immediately - first ask AI to explain the implementation plan.
"Explain the optimal implementation plan for applying Supabase Auth to this project step by step. For each step, specify which files to modify and what code to add."
While reviewing the plan, check:
- Whether environment variable setup is included
- If client initialization location is appropriate
- Whether auth state management aligns with existing patterns
- If error handling logic is included
Once the plan is sound, then begin implementation.
Real-World Case: Supabase Auth Integration Process
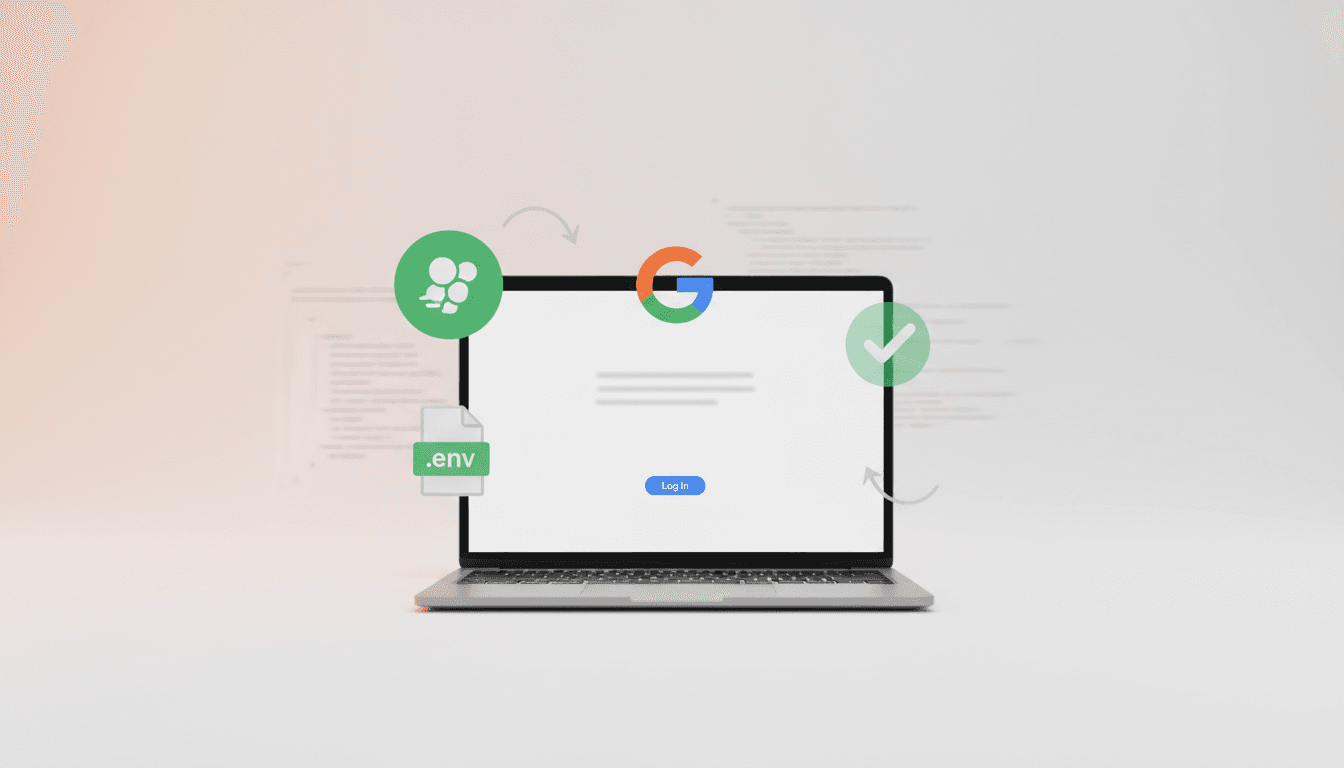
Let's walk through the step-by-step process of integrating Supabase Auth in an actual project.
Stage 1: Supabase Project Setup
Create a new project in the Supabase console and obtain:
- Project URL:
https://xxxxx.supabase.co - Anon Key: Public API key
Add to environment variables file (.env.local):
NEXT_PUBLIC_SUPABASE_URL=https://xxxxx.supabase.co
NEXT_PUBLIC_SUPABASE_ANON_KEY=eyJhbGciOiJIUzI1NiIsInR5cCI6IkpXVCJ9...
Stage 2: Enable Google OAuth Provider
Enable Google in Supabase console's Authentication > Providers. Create an OAuth client ID in Google Cloud Console and configure it.
Stage 3: Request AI Implementation
Now with everything prepared, request AI:
"Implement a Google login button with the Supabase project we just configured. When the button is clicked, show a Google login popup, and after successful login, save user information to the session."
AI generated this code:
// lib/supabase.ts
import { createClient } from '@supabase/supabase-js'

export const supabase = createClient(
  process.env.NEXT_PUBLIC_SUPABASE_URL!,
  process.env.NEXT_PUBLIC_SUPABASE_ANON_KEY!
)

// components/LoginButton.tsx
'use client'

import { supabase } from '@/lib/supabase'

export function LoginButton() {
  const handleLogin = async () => {
    const { error } = await supabase.auth.signInWithOAuth({
      provider: 'google',
    })
    if (error) console.error('Login failed:', error)
  }

  return <button onClick={handleLogin}>Login with Google</button>
}
Stage 4: Verify Functionality
Clicking the login button opens the Google login popup, and after authentication, we confirmed the session was successfully created.
Check in browser developer tools Network tab:
- Is
/auth/v1/authorizerequest being sent - Is the response status 200
- Is the session token being returned
Solving RLS Issues and MVP Strategy
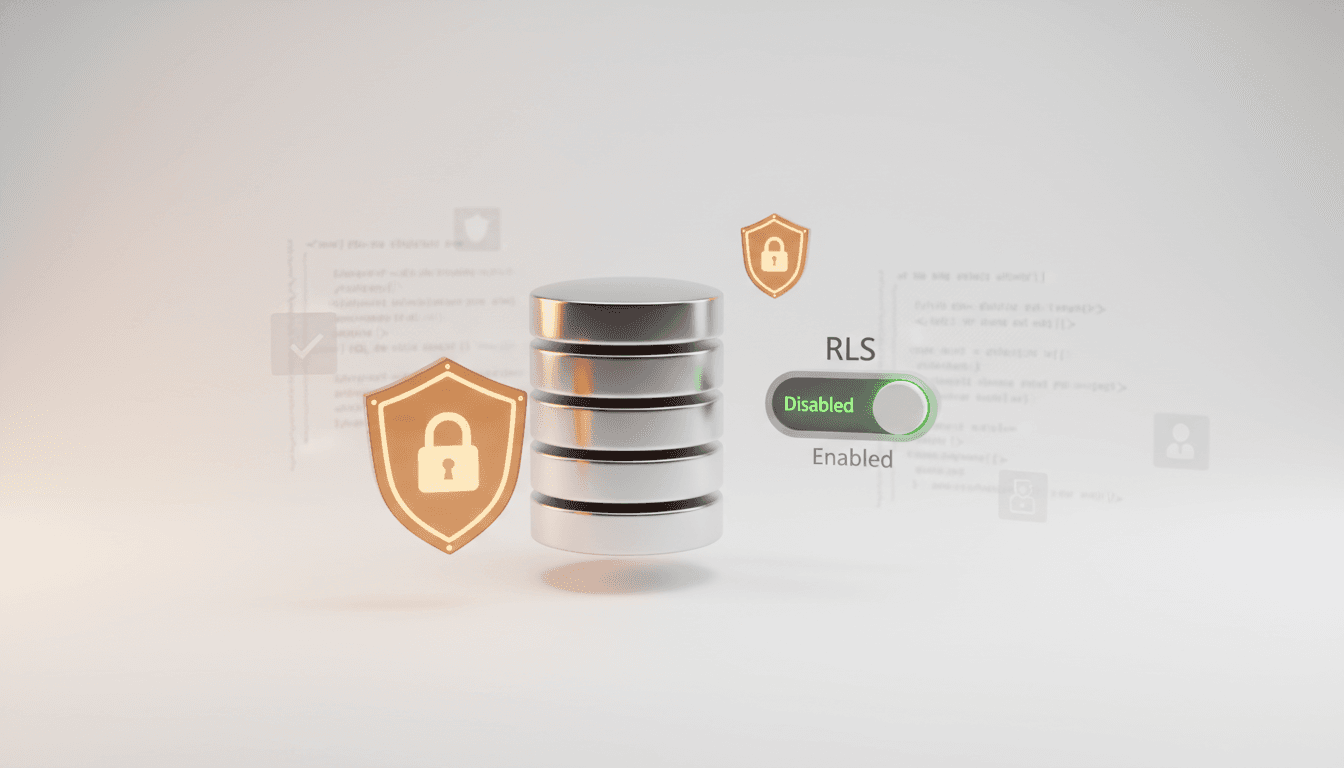
Supabase has Row Level Security (RLS) enabled by default. RLS is a powerful security feature that controls user-level access at the database level, but it increases complexity during the MVP stage.
Typical RLS Errors
Login succeeds, but when trying to query data, you see errors like:
Error: new row violates row-level security policy for table "users"
Or data queries only return empty arrays.
RLS Strategy for MVP Stage
In the actual project, we approached it this way:
- First disable RLS completely to verify authentication flow works correctly
- After completing core features, progressively add RLS policies table by table
- Apply appropriate RLS policies to all tables before final deployment
How to disable RLS in Supabase console for each table:
-- Disable RLS per table
ALTER TABLE users DISABLE ROW LEVEL SECURITY;
ALTER TABLE posts DISABLE ROW LEVEL SECURITY;
When strengthening security later, add policies like:
-- Users can only view their own data
CREATE POLICY "Users can view own data"
ON users FOR SELECT
USING (auth.uid() = id);

-- Users can only update their own data
CREATE POLICY "Users can update own data"
ON users FOR UPDATE
USING (auth.uid() = id);
Verification Methods
Once integration is complete, check:
- In browser developer tools Network tab, verify API requests are being sent correctly
- In Application tab > Local Storage, verify Supabase session token is stored
- Test complete user flow from start to finish (login → data query → logout)
Systematizing External Service Integration with Vooster AI
External service integration, once tangled, takes more than double the debugging time. Vooster AI supports safe integration through MCP tools and project documentation.
1. Real-time Document Sync with 31 MCP Tools
Vooster AI's MCP synchronizes project state in real-time. When used with Context-7:
- AI writes code referencing latest official documentation
- Maintains consistency with tech stack specified in TRD (Technical Requirements Document)
- Implements with consistent patterns according to Code Guidelines
2. Specify External Services in TRD
When adding Supabase to the tech stack during project creation, AI automatically generates TRD. TRD includes:
- Supabase client version
- Authentication methods (OAuth, Magic Link, etc.)
- Database schema
- Environment variable configuration
With TRD, AI generates code in a consistent manner.
3. Add Integration Rules to Code Guidelines
Vooster AI auto-generates Code Guidelines per project. You can add external service integration rules here:
"When integrating external APIs, always verify latest official documentation with Context-7." "Initialize Supabase client as a single instance in lib/supabase.ts." "Wrap all auth errors in try-catch and display clear error messages to users."
AI will automatically follow these rules when writing code.
4. Validate by Task Units
Manage integration work in granular tasks on Vooster AI's task board:
- T-001: Supabase project setup and environment variable configuration
- T-002: Enable Google OAuth provider
- T-003: Implement login button UI
- T-004: Implement session management logic
- T-005: Set RLS policies (before deployment)
Validating each completed task means if issues arise, you can quickly resolve them with a narrowed scope.
Conclusion
The most important aspects of external service integration are referencing latest documentation and validating step by step. While AI coding tools are powerful, they remember APIs from their training time, so you must activate real-time documentation reference with tools like Context-7.
As seen in the Supabase Auth case, following this sequence greatly reduces integration mistakes:
- Reference latest docs with Context-7 MCP
- Analyze codebase with Reformix
- Request implementation plan from AI first
- Review plan then implement step by step
- Verify API requests with Network tab
- Defer complex features like RLS until later in MVP
Vooster AI systematically supports this entire process through 31 MCP tools, TRD, and Code Guidelines. External service integration, once tangled, takes double the time. Safely integrate by synchronizing documentation and code with Vooster AI's MCP.
Start your systematic vibe coding journey with Vooster AI today!
Start Structured Vibe Coding with Vooster
From PRD generation to technical design and task creation - AI helps you every step. Start free today.
PRD Generation
Auto-generate detailed requirements
Technical Design
Implementation plan & architecture
Task Generation
Auto-break down & manage dev tasks
No credit card required · Full access to all features
Related Posts

What is Vibe Coding? The Future of AI-Powered Development in 2025
Discover vibe coding: the revolutionary AI-powered development approach. Learn 3 essential rules, real success stories, and how to build better products faster.

Vooster MCP Setup + Getting Started with Development
How to connect Vooster MCP to Claude Code and Cursor in 5 minutes. Step-by-step guide from @vooster/mcp package setup to API key configuration and implementing your first task.

The Real Role of Developers in the AI Era: From Coding to Prompt Planning
AI writes code, but developers guide it. Learn the 3 core skills for AI-era developers: domain understanding, codebase knowledge, and prompt planning.